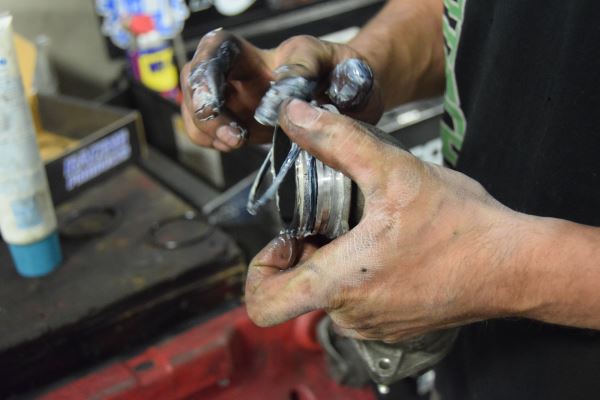
We were lucky enough to have our friends at Powertech Diesel in Idaho Falls, ID, help us out with the installation. All told, it took around 3 hours start to finish. While the location of the fuel pressure regulator is hidden somewhat, it’s not like you have to get to the bottom of the engine bay or anything. If you ask around on the internet, you’ll get different opinions about what you’ll specifically need to take off or what you can leave on. The GM service manual recommends removing the alternator and the AC compressor. This is mainly so they’re out of your way, since you could technically leave them in, but you wouldn’t have very much room to work with. We also took out the cold air intake, though that’s not strictly necessary. Next, you’ll want to pull the intake charge pipes and aluminum housing for the EGR. .. there are a couple of wire plugs here but not many. You’ll also have to unhook most of your electrical harnesses while you’re at it, too. Next, remove the bolts holding the upper radiator hose and thermostat housing. The charge pipe going into the manifold is the next thing to remove. It’s actually only held in place by the O-rings and friction, so just wiggle it loose and pull it out.